
Published 11/28/2021:
Insulated Concrete Forms (ICFs)
Insulated Concrete Forms or ICFs are like regular concrete wall forms that hold the shape of the wall while the wet concrete while it is being poured. But after the concrete cures, instead of removing the forms, ICFs remain in place, serving as the wall insulation for exterior walls.

First and Second floor ICF walls on our home 6/2019
Since the concrete is sandwiched between these layers of insulation, it forms a really good thermal barrier, thermal mass, with almost no air leakage through the wall.
These foam blocks come in huge pallets (weighing roughly 100 lbs each).

Individually the blocks are really light weight and stack together like Lego blocks using interlocking teeth. The brand I used is called BulildBlock.

Here's a foam block that I cut lengthwise to show its cross-section. A standard hand saw makes quick work at cutting these.

Cross-section of an ICF cut lengthwise
Viewed bottom side up, the black plastic fingers make channels for receiving horizontal lengths of rebar. You can choose any of the channels so the rebar can be in the middle of the concrete, inside or outside edge. This is a huge labor savings because you don't have to tie all your rebar. It just holds it all for you. Vertical rebar can be weaved in-between the horizontal members. Since the home resides in a high seismic zone, I spaced #5 rebar on a 12 inch center both horizontally and vertically throughout the exterior walls.
The black plastic strips are embedded into both halves of the foam and flair out into a 2" wide area for attaching sheet-rock, siding or other substrate material that you may want to attach to the wall. These plastic strips are spaced every 6 inches and run vertically down both sides of the foam blocks the entire height of the wall. They have a 189 pound pullout strength.

Both side faces of a BuildBlock has a built in tape measure marked off on 1" increments as well as super heavy BB attachment points.
Every inch is marked off along the length of every block like a handy, built in tape measure. This also serves as a handy guide for making perfectly strait cuts with a hand saw.
Every 6 inches resides another one of these vertical plastic strips that will hold a screw anywhere along its length.
Every 8 inches vertically along these plastic strips is a reinforced region, marked with a BB. This region has a 480 pound pullout strength. If you attach to these BB regions you can hang cabinets, bookshelves, TVs, or anything else heavy. The tricky part is finding them after the fact. However, there will always be a plastic strip every 6" and if the height of the BB regions is known then it's only a matter of measuring up and over from a known BB spot.

ICF Wall Plans
For my house, I used 13" forms on the lower level for 8" thick concrete walls and 11" forms on the upper level for 6" thick concrete.
Instead of an outer rim joist for the upper floor, I embedded the J-bolts on the inside wall of the form. That allows this whole outside wall to have an entirely unbroken thermal barrier.

I cut out holes on the inside wall of the ICF so concrete can flow all the way out of the form. The rim joist can then be mounted securely and tightened flush to the concrete by the J-bolts embedded into the concrete in the ICF. All without any breaks in the vapor barrier or thermal envelope of the outside wall.

Concrete brought forward with J-bolts embedded for securing the rim joist inside the ICF wall above the garage door lintel
For all window and door openings, I used a BuildBlock product called BuildBuck.
It is made of foam and has a plastic embedment that serves multiple purposes.
- It embeds itself into the concrete during pouring, securing the buck into place.
- Window flashings and door jams can be screwed tightly into it.
- Inside the house, corner bead and sheetrock can also be screwed into it.

I rented some catwalks and braces designed for ICFs. These braces attach temporally with screws to the ICFs and keep the walls secure and level. The catwalk gives a nice continuous plank to work on as the wall gets higher and makes it much safer and ergonomic to pour the concrete. Each of these braces has a diagonal brace with a turnbuckle where you can dial in that particular section of wall, making it exactly strait and plumb.

I hired Blane Jones, owner of Arctic West ICF to help me pour the walls. He was the same one who sold me the ICFs, answered all my concerns about ICFs and ultimately convinced me to extend the ICF walls all the way up to the rafters.
Blane ran the business end of the pump truck hose while I ran the stinger (a large vibrator) to help the concrete settle into every crevice, minimizing voids and air pockets.

Pouring the first level ICF walls 2/2018
We poured
the first wall in 2 lifts. It took about an hour to go half way up the wall, around the entire perimeter. Once that half was done we circled the entire perimeter again filling the wall up the rest of the way, leaving about 3-6 inches of room at the top of the form. Vertical rebar was 24" above the height of this first wall so it would tie the next level pour into the first pour.

After bringing in gravel, compacting and leveling it, I layed down two layers of 2" thick foam sheets on top of it. This gives provides R-20 of insulation under the slab. On top of the foam I put down a vapor barrior as an added barrier against radon and other ground intrustions.
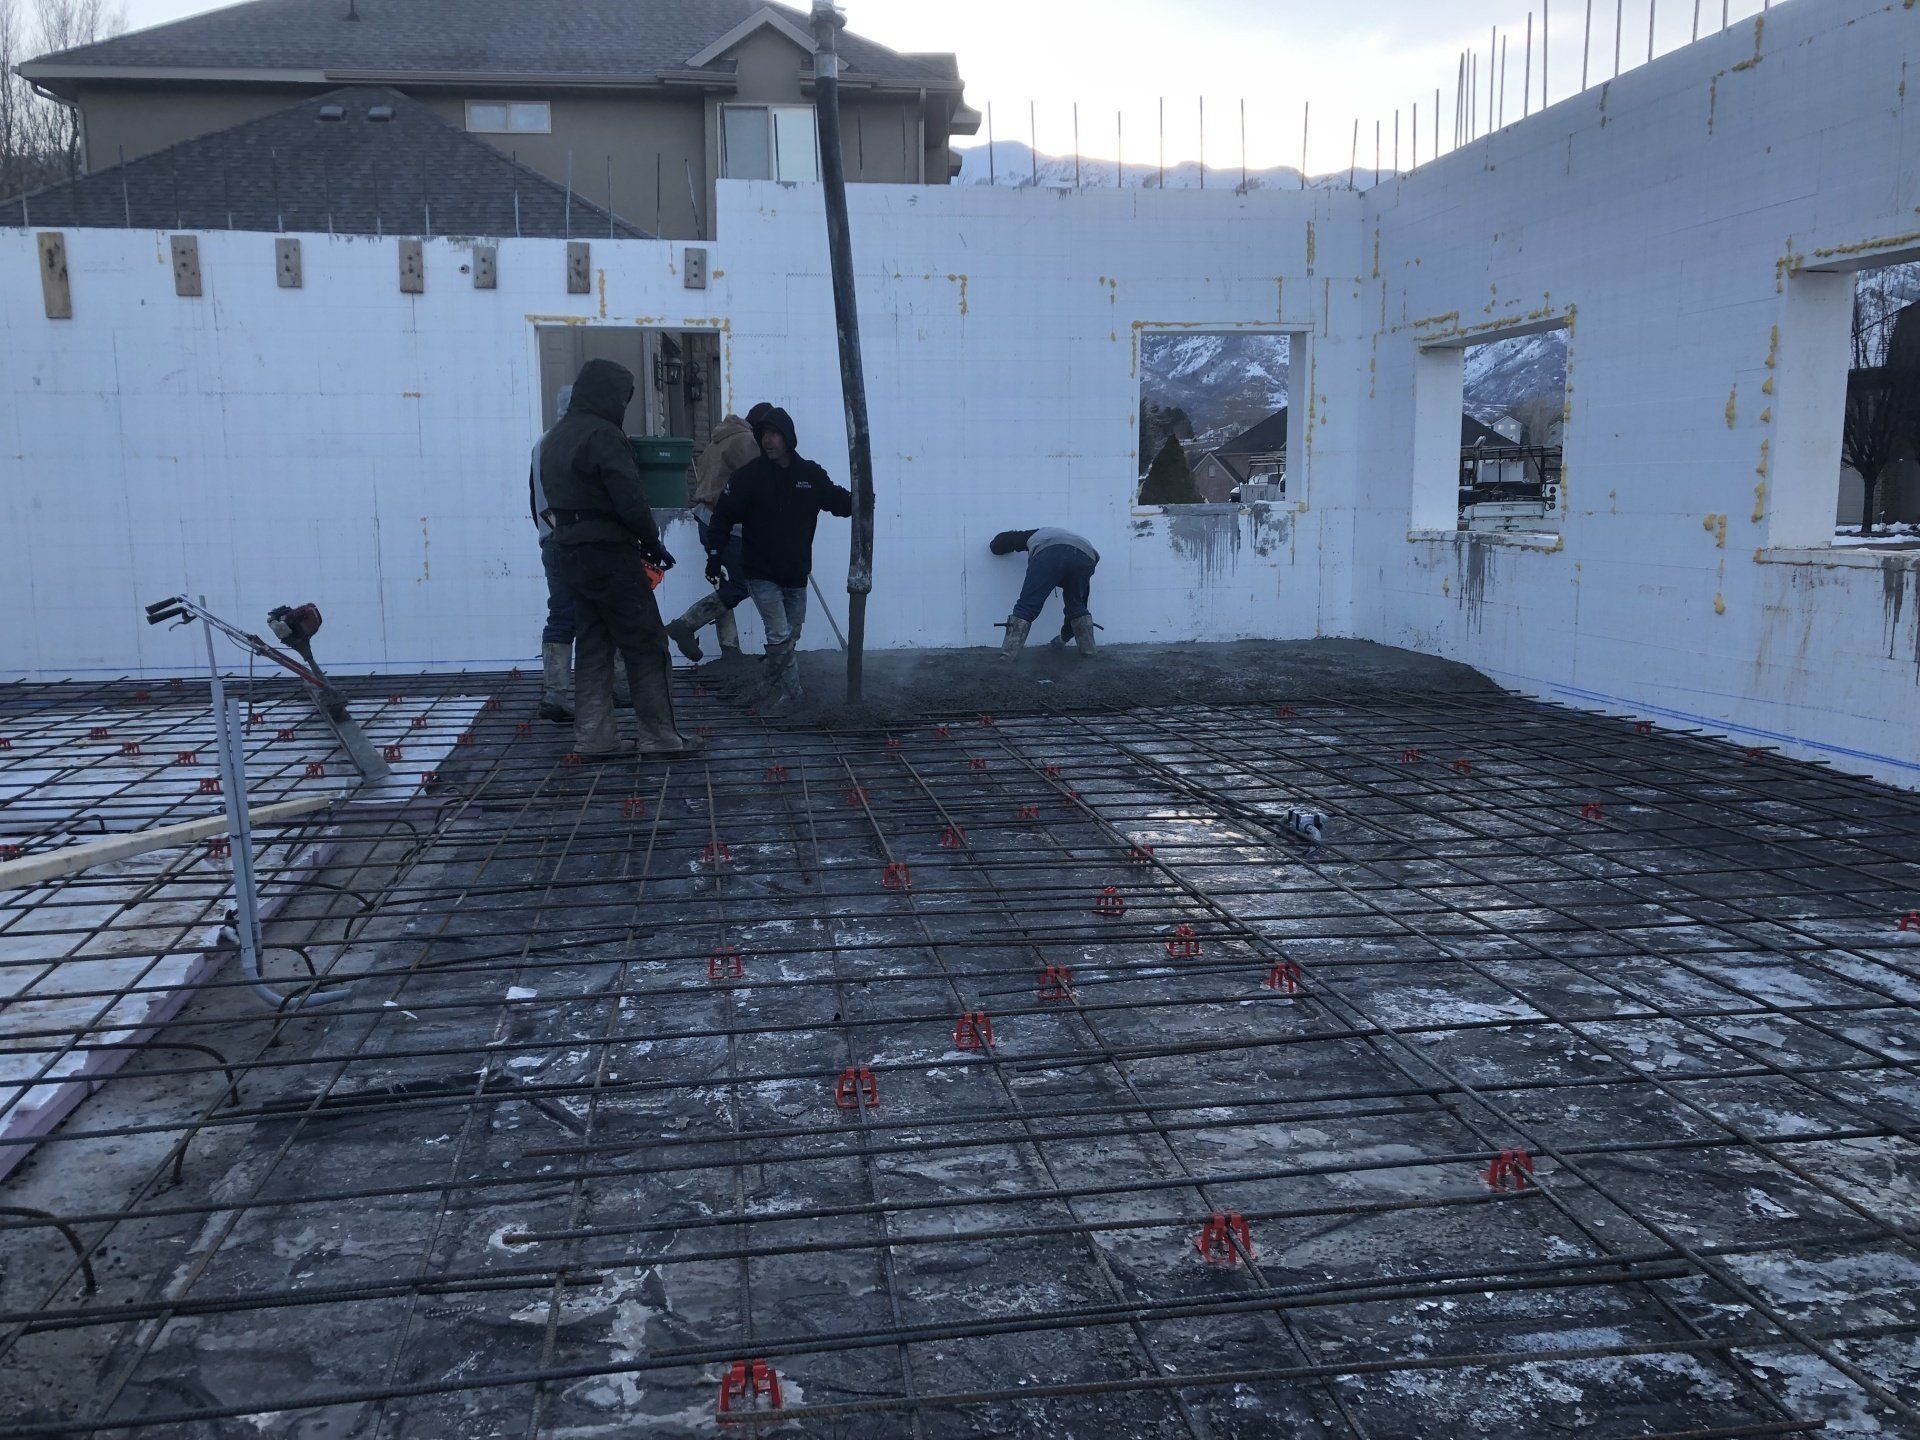
I hired Toller concrete while they did a fantastic job of pouring the concrete slab on top of the foam. While not required, I also added a 12" gridwork of #4 rebar in the slab.

I did the framing for the first floor interior walls, installed the rim-joists and floor joists. After adding the floor sheathing, I was ready to start the next level of ICF blocks.
The first level took me about 6 weeks (bit of a learning curve). The second level only took me about 3 weeks.

During the last ICF wall pour, Blane came back out to help again while I again ran the stinger. I got a little overzealous and blew out the wall a little bit. I was freaking out but Blane was clam and told me what to do. I screwed some scrap wood to the outside of the ICFs shoring up the foam and we finished the pour without any further incidents.

Overall it was a very positive experience.
Up front ICFs cost a lot of money but since they are your concrete forms, your wall insulation your studs, sheathing and vapor barrier all in one assembly, without the additional labor of these other trades, they end up almost breaking even to conventional home construction. ICFs also form a perfectly strait wall that (short of thermonuclear war), can handle almost any natural or human caused disaster.
Concrete was more expensive so I spent a little bit more than I would have on a regular home.
Since our house is embedded in the side of a hill, the same hill as Hill Air Force Base, we get buzzed by F-35's a lot. While I never tire of the free air shows outside, they are deafening. While the lower concrete wall was always going to be made of ICFs, experiencing the noise of the Jets during excavation convinced me to change the house design so the ICFs extend from the top of the footings, all the way up to the roofline. I am so glad that I did because ICFs are superior to conventional framing in many ways.

Insulation:
The foam alone provides R-30 of insulation but with the large thermal mass of the concrete sandwiched in-between, this gives an effective R-40 of insulation in the exterior walls.
The BuildBucks around each window and door reduces thermal bridging even further. Combine the amazing ICF walls with R-60 insulation in the roof and R-20 foam under the slab makes for a very quiet, clean, safe, comfortable home with ultra-low energy bills.
How do deal with wiring, plumbing, conduit and ducts through and ICF wall?
Any wall penetrations are much easier to make prior to pouring the concrete. Things like hose bibs, vents, HVAC refrigerant lines, electrical can be prepped by adding a conduit sized for what you are planning on running. Simply cut out a hole and slip a scrap piece of sewer pipe or conduit in. For larger penetrations like a 6" duct, I just cut a 13" length of duct and foamed it in place in the wall.

Electrical cables embedded into an ICF wall, prior to foaming back up.
Running plumbing, electrical or conduit across an ICF wall involves hogging out a channel, running your line and foaming it in place.